
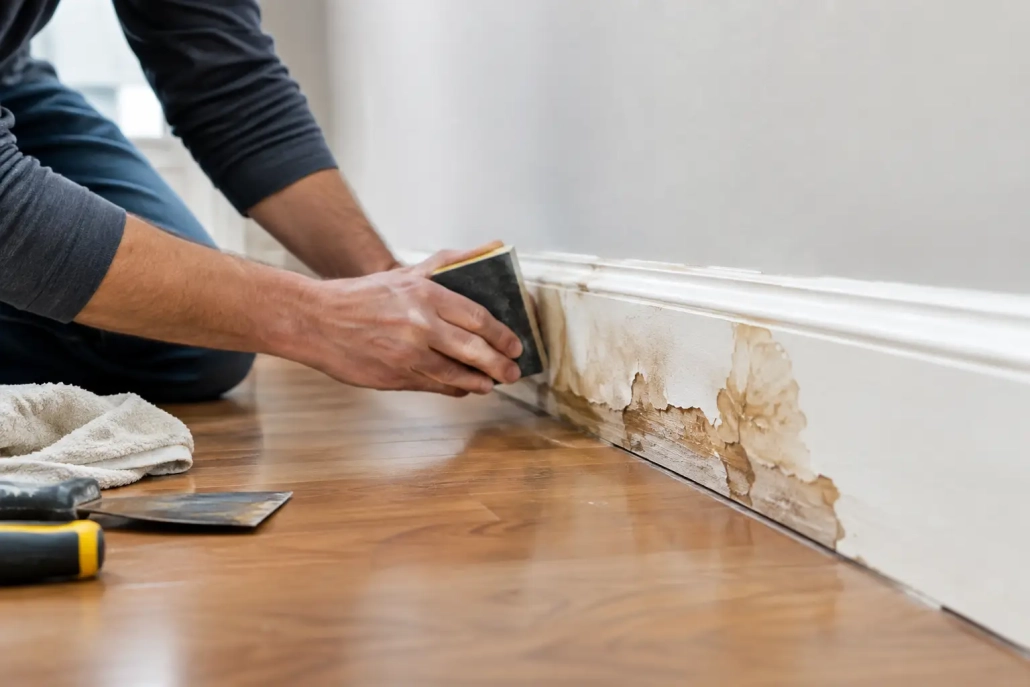
How to Restore Water-Damaged Baseboards Safely
A wet baseboard can look like a small cosmetic problem until it starts swelling, separating from the wall, or producing a musty odor. In South Florida, high humidity can slow drying and let moisture remain behind trim longer than homeowners expect. Knowing how to restore water-damaged baseboards starts with one priority: stop the water and confirm the wall cavity and flooring are dry before making any repair.
A clean-looking baseboard is not always a dry or healthy one. The right repair depends on the material, how long it was wet, the source of the water, and whether moisture traveled into the drywall, insulation, or flooring.
Start by Finding and Stopping the Water Source
Do not repaint or reattach trim until you know why it got wet. Common causes include an overflowing toilet, appliance leak, burst supply line, roof leak, wind-driven rain, HVAC condensation, or water entering beneath an exterior door.
If the water is still active, shut off the fixture supply valve or the home’s main water supply when necessary. Move rugs, furniture, and personal belongings away from the affected area. If the leak came from a toilet backup, drain line, floodwater, or another contaminated source, avoid handling porous materials without proper protection. That is not a simple cosmetic cleanup. Contaminated water can carry bacteria and may require removal of affected baseboards, drywall, and insulation.
For a clean-water leak caught quickly, the restoration path may be much simpler. But even clean water can become a mold concern if it remains trapped in a wall or under flooring for more than a day or two.
Check Whether the Baseboard Can Be Saved
Baseboards are commonly made from solid wood, finger-jointed wood, medium-density fiberboard, PVC, or composite materials. Their response to water is very different.
Solid wood baseboards can often be dried, cleaned, sanded, and repainted if they were exposed briefly and have not warped severely. PVC trim generally handles moisture well, though water can still damage the wall behind it. MDF baseboards are the least forgiving. Once MDF swells, becomes soft, or develops a rough bubbled edge, replacement is usually the better result. Trying to fill and paint swollen MDF may hide the problem briefly, but it rarely restores a crisp, durable profile.
Press a finger gently along the bottom edge and corners. Soft spots, crumbling material, lifted paint, dark staining, visible swelling, or separation at joints are signs the trim may need to come out. Also look for bubbling paint above the baseboard, a persistent odor, warped flooring, or damp carpet tack strips. Those clues suggest the moisture damage extends beyond the trim itself.
How to Restore Water-Damaged Baseboards: Dry First
Drying is the part that protects your property. Do not rush past it because the baseboard is easy to replace. If the drywall and framing behind it stay wet, new trim can seal moisture into the wall and create a much larger repair later.
For a small, clean-water incident, begin by blotting and extracting visible water. Run air movers across the affected area and use a dehumidifier to lower indoor moisture. Air conditioning helps in South Florida, but it may not provide enough targeted airflow to dry a wall cavity after a significant leak.
Remove the baseboard carefully if it is wet, swollen, or if you need to inspect behind it. Score the paint or caulk line at the top with a utility knife, then gently pry the trim away using a putty knife and pry bar. Work slowly to limit drywall damage. Label each piece if you plan to reinstall solid wood trim.
Once the trim is removed, inspect the bottom of the drywall. A small amount of surface moisture may dry with controlled airflow. Drywall that is soft, crumbly, stained, or swollen should be evaluated for removal. In some cases, a narrow flood cut above the affected area is the safest way to expose wet insulation and allow the wall cavity to dry correctly.
Use Moisture Readings, Not Just Touch
A wall can feel dry while still holding elevated moisture internally. Restoration professionals use moisture meters and thermal imaging to identify wet materials, trace the spread of a leak, and document drying progress. This is particularly useful around kitchens, bathrooms, laundry rooms, exterior walls, and first-floor units where water may have traveled under flooring or into adjacent rooms.
If the affected area is more than a small section of trim, or if you cannot confirm that the wall is dry, professional water damage drying is a smart investment. Fast extraction, targeted air movement, dehumidification, and moisture monitoring can prevent avoidable mold growth and reduce the amount of material that needs to be replaced.
Clean and Treat the Exposed Area
After the area is dry, clean visible dust, residue, and minor surface staining from the wall and floor edge. For clean-water damage, a mild detergent solution and careful wiping may be enough. Do not soak the drywall during cleaning.
If you see suspected mold growth, do not simply paint over it or spray it with fragrance products. Small surface areas on nonporous materials can sometimes be cleaned safely with appropriate protective equipment, but mold on drywall, insulation, or swollen MDF often means the affected porous material should be removed. The source of moisture must also be corrected, or the problem will return.
Be cautious with strong chemicals. Bleach is not a dependable fix for mold embedded in porous building materials, and excessive liquid can add moisture back into the area. The goal is a clean, dry, stable surface before repairs begin.
Repair or Replace the Trim
If solid wood baseboards dried flat and remain structurally sound, scrape loose paint, sand rough areas, and prime any bare wood with a stain-blocking primer. Once the primer dries, repaint to match the room. Caulk the top edge only after the wall and trim are fully dry. Caulk can improve the finished look, but it should never be used to conceal active moisture damage.
When replacement is needed, remove all compromised trim rather than patching only the visibly swollen section. Matching the existing profile, height, and finish will produce a cleaner repair. In moisture-prone spaces, consider PVC or another water-resistant trim material. It costs more than basic MDF, but it is often a worthwhile choice near bathrooms, laundry rooms, exterior doors, and ground-level areas where repeated moisture exposure is possible.
Before installing replacement baseboards, check that the flooring edge is dry and stable. Laminate, engineered wood, and some vinyl flooring systems can trap water beneath their edges. If flooring is lifting, separating, or feels soft, baseboard replacement alone will not solve the problem.
When to Call a Water Damage Professional
A homeowner can handle a small spill or a short-lived, clean-water leak with no signs of migration. The situation changes when water reaches several rooms, seeps beneath flooring, affects drywall, comes from a contaminated source, or has been present for an unknown amount of time.
Call for professional help if you notice a musty smell, visible mold, wet insulation, warped floors, water around electrical outlets, recurring stains, or a leak that occurred after a storm. Property managers and HOA boards should also act quickly when baseboard damage appears in shared walls or multi-unit buildings, where water can travel farther than the visible damage suggests.
The Cleaners Drones provides water damage restoration support for Palm Beach County properties, with the equipment and drying process needed to address moisture below the surface, not just the trim in plain view.
Prevent the Next Baseboard Failure
Once repairs are complete, keep an eye on the conditions that caused the damage. Check appliance hoses, toilet supply lines, caulk around tubs and showers, HVAC drain lines, roof penetrations, and exterior door thresholds. A small leak discovered early is often a simple repair. The same leak ignored through a humid week can lead to damaged trim, drywall replacement, flooring issues, and indoor air concerns.
Your baseboards should finish the room, not hide a moisture problem. If you are unsure whether the area behind them is dry, pause before painting or installing new trim and get the moisture checked. That one step can protect the appearance of your property and prevent a much more disruptive repair.



Leave a Reply
Want to join the discussion?Feel free to contribute!